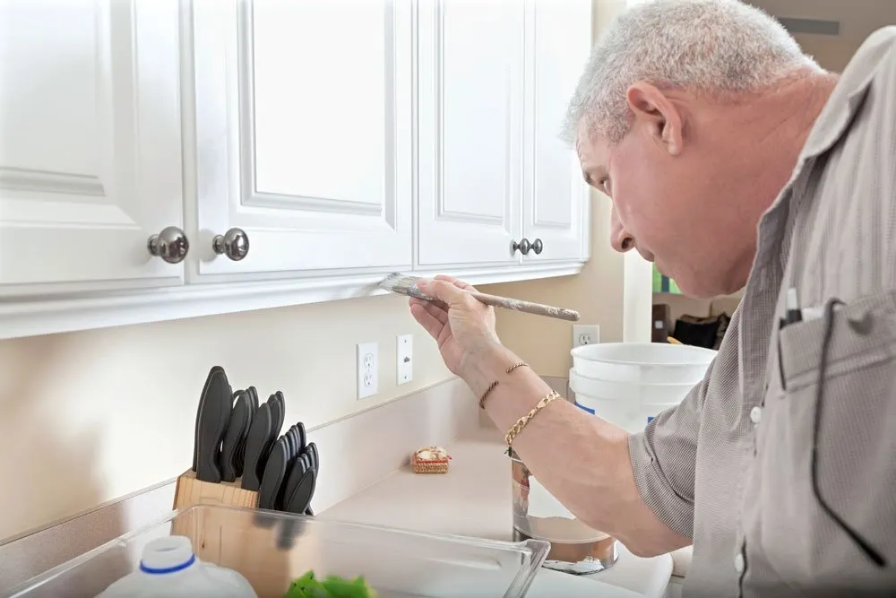
Painted cabinets liven up drab kitchens and instantly add a modern look to the decor. The project often moves along quickly and is much more affordable than replacing the cabinetry with new cabinets.
Sanding your cabinet doors, priming, applying the first coat, the second coat, and what is involved when we paint kitchen cabinets will ultimately be the responsibility of your painting team. Typically, this can be a more involved step-by-step DIY project, and knowing what you’re going to do with the countertops, backsplash, drawer fronts, cabinet frame, is part of the time consuming process, not to mention the tools and materials you’ll need to complete this project.
Things like quality paint, screwdriver, various grit sandpaper, paint brush, painter’s tape/masking tape, tack cloth, wood filler, as well as drop cloths, foam rollers/paint rollers, sprayers and other things you’ll need for the painting process. How many coats of paint you plan to do, what kind of wood cabinets you have, what kind of old paint is already there and how you’ll reinstall everything is part of planning for painting projects.
There’s also the type and kind of new paint you want to use – things like semi-gloss, latex paint, as well as the prep for this new paint. The preparation of the cabinet boxes‘ bare wood is key to getting a smooth finish topcoat where you can’t see scuffs or the brush marks of brush strokes, as well as the durability of the finished product.
Despite the speed and ease of painting compared to other redecorating tasks, homeowners still need to prepare. Discover a few tips to follow before the work begins.
Clean the Area
Wash the cabinets and the surrounding walls to remove any grease or dirt that could affect how the paint adheres. Washing the walls beforehand ensures the entire area looks nice afterward. No one wants the beauty of their paint job diminished by dingy walls.
Clear Away Items
Remove everything from the counter and the cabinet walls. Packing away these belongings will avoid any mishaps that could lead to broken items or spills. A clear area also ensures the contractors will have freedom of movement so their job is easier and done faster. Empty all cabinets as well, and put all boxes of belongings in another room to avoid clutter.
Move Some Furniture
Remove excess furniture from the room. Tables, stools, and chairs can become awkward to maneuver around when workers arrive with ladders and equipment. All items, like bins and garbage cans, may need to come out of smaller kitchens with limited space.
Know Your Role
Discuss the specifics with the painting team before the scheduled workday. Know if you should fill in any cracks or dings on the cabinets with wood putty before the painting begins or if they do this task themselves. Glossy cabinet paints can show imperfections more easily, so small issues may seem a lot worse after painting unless repairs happen first.
Ask about the cabinet hardware. The contractor may prefer homeowners to remove and store the hardware for themselves, or they may include it as a part of the project. An understanding of all the details can prevent delays.
Consider New Hardware
Older hardware may look more aged and unappealing next to a fresh coat of paint. If budget issues prevent the purchase of new door pulls and knobs, consider spray paint. Hardware stores offer many types of durable metal paints that will help to upgrade the look of older hardware.
Make certain to clean the hardware thoroughly before painting, apply a sealer after painting, and allow every coat to dry thoroughly before adding the next. Paint the cabinet screws too, or replace them with new screws that match the paint.
Plan for Meals
Limit the use of the kitchen for a couple of days because you will want to give the paint time to dry thoroughly before touching the surfaces or exposing the cabinets to steam. Move snack items into another room, have disposable dinnerware and cups available, and limit kitchen use to the refrigerator only. Grill outside or order takeout for a few days.
Cabinet painting could take several days due to the number of coats the cabinets need, and it could take several more days for the cabinets to dry. Paint needs to cure before the painted item is ready for normal use. Cured means the paint is fully dry and at its most durable, not just dry to the touch.
Relocate the Pets
Plan if pets will go to daycare, a kennel, or stay confined in another area of the home during the duration of the project. Friendly cats and dogs may not offer any threat to the contractors, but they can get underfoot or get into the paint. The safest option for everyone involved, human and otherwise, is to keep pets away from the worksite.
Consider a Professional When it Comes to Painting Kitchen Cabinets
When working with a professional painting company who can provide simply amazing results in cabinet painting, you can have both a peace of mind and a great finished product that will last a lifetime.
Home redecorating and remodeling projects rarely transform the look of a room in a matter of hours. Paint makes that type of fast upgrade possible. At Elite Painting KC, we want you to get the look you want as easily and efficiently as possible. These tips can help to make the process smoother for everyone. Contact us to learn more or to schedule a project quote.


